Since a few weeks ago, Mailchimp automations can also be used free of charge in free accounts. This is great news! Until now, this tool was only available to users who decided to pay or whose databases had more than 2,000 subscribers. Therefore, the time has come to explain to you step by step how to set up an automated system.
Automations are Mailchimp’s tool designed to automatically send an email to a subscriber or group of subscribers when they meet a series of previously established requirements. For example, in a welcome automation, this “requirement” is to be new to the database. When a new subscriber enters Mailchimp, an automated system is activated which sends an email to the new subscriber. The content of this email has been designed and defined by the account owner and can be followed by other emails.
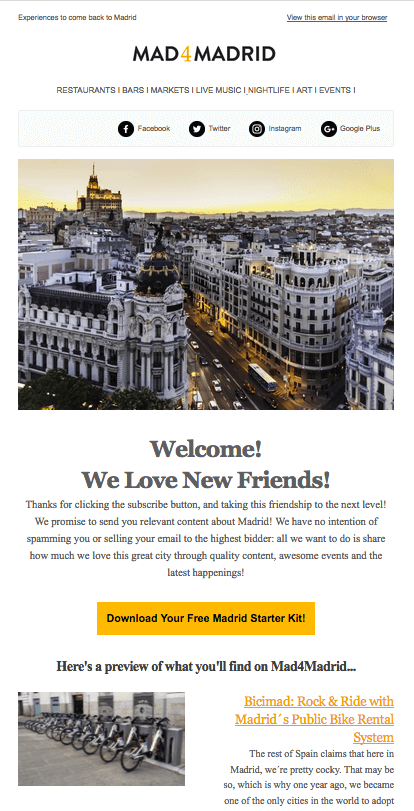
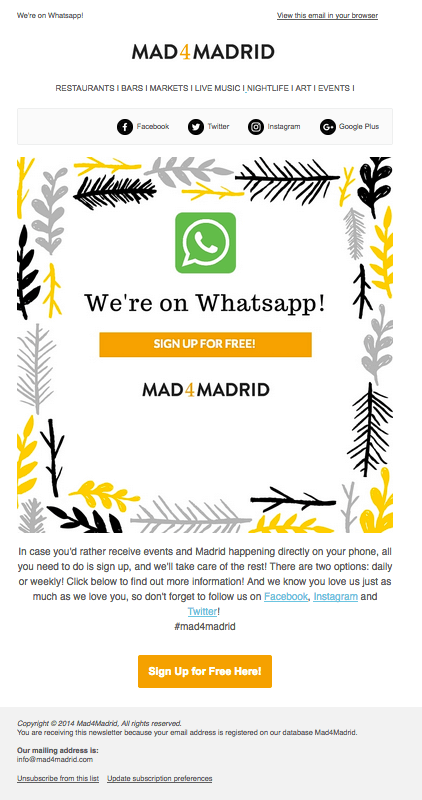
Let’s see an example of a welcome automation when a user signs up for the Mad4Madrid newsletter. This automation is composed of 2 mailings: the first one welcomes the user to the newsletter and explains what they will receive, as well as attaching a free guide to Madrid (which is the lure used on the website to attract subscribers) and also encourages them to follow the website on social networks. The second one talks about the WhatsApp service offered by this media and explains how to sign up step by step to receive the best Mad4madrid plans directly to your cell phone, either weekly or daily.
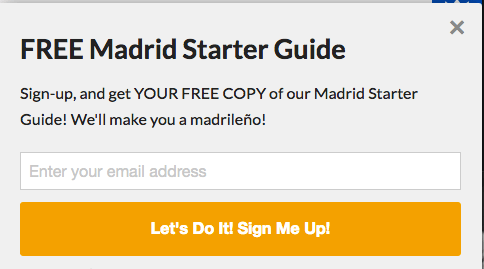
Claim:
First newsletter:
Second newsletter:
[registro titulo=”Regístrate a nuestra newsletter y descargarte gratis nuestra guía de conceptos de e-mail marketing automation” url=”https://new.agenciareinicia.com/descarga-de-guia-conceptos-marketing-automation/” texto_boton=”Me registro” imagen=”https://new.agenciareinicia.com/wp-content/uploads/2019/07/Mailchimp_Logo-Vertical_Black.png”]
Step by step: how to set up your automation in Mailchimp
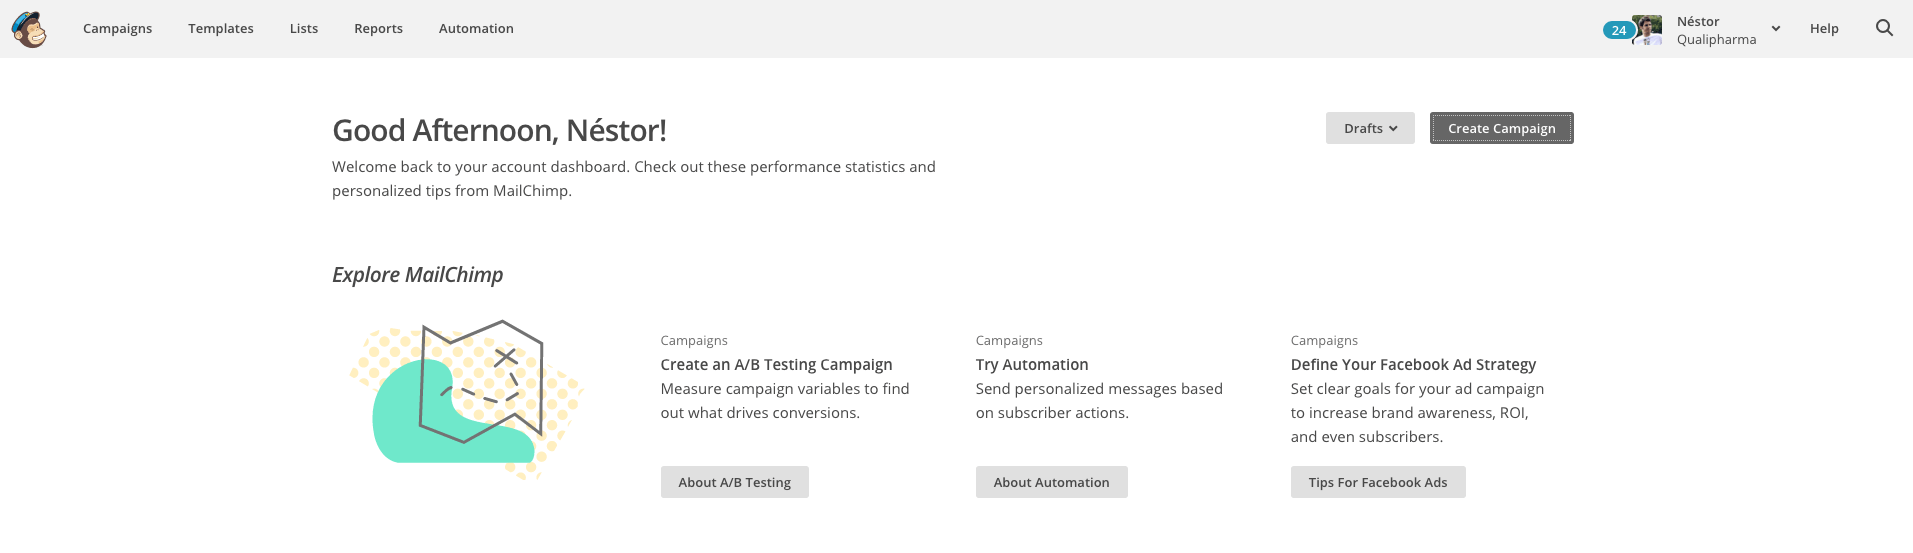
1.To create an automation, inside Mailchimp, click on the Create Campaign button from the application’s desktop.
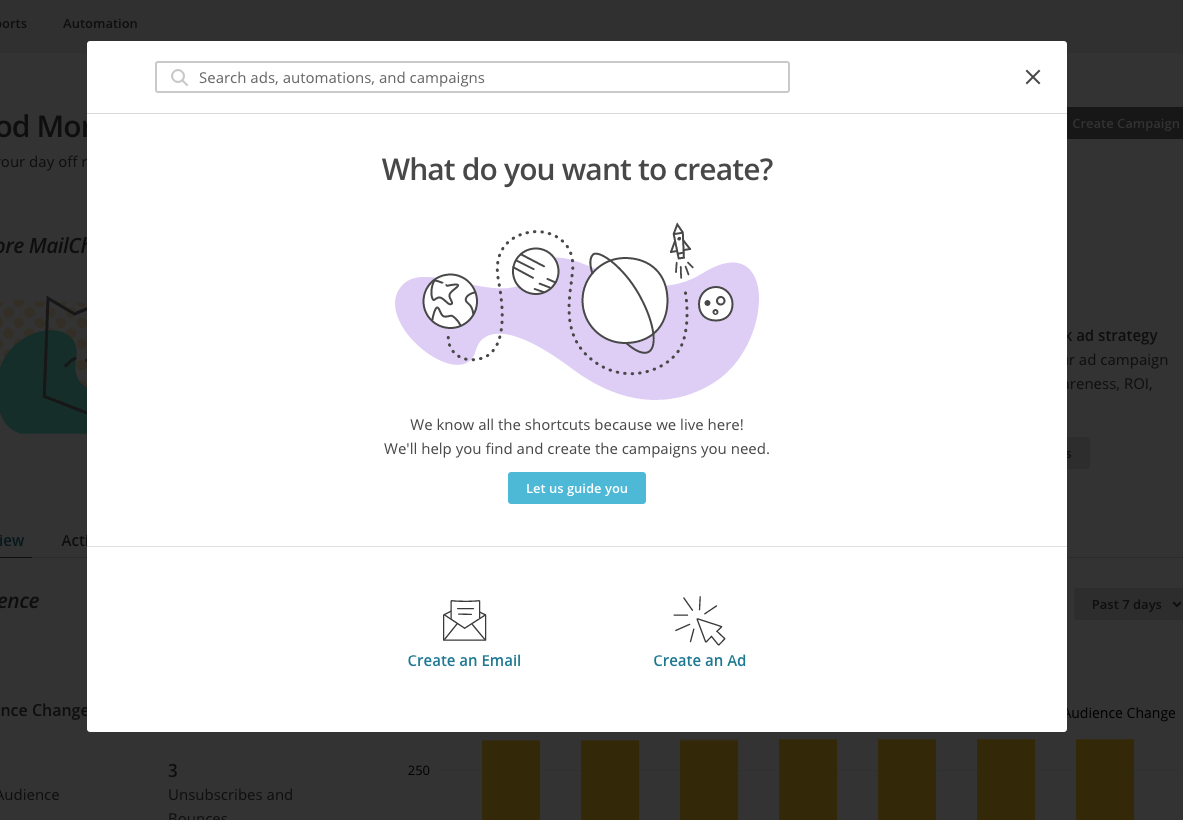
Next, this window will open where we must select Create an Email:
The next screen will offer us the different types of automations that Mailchimp suggests, such as Abandoned Carts or Best Customers, although in reality there are many more options that we can configure if we start from the “Custom” option. We will opt for

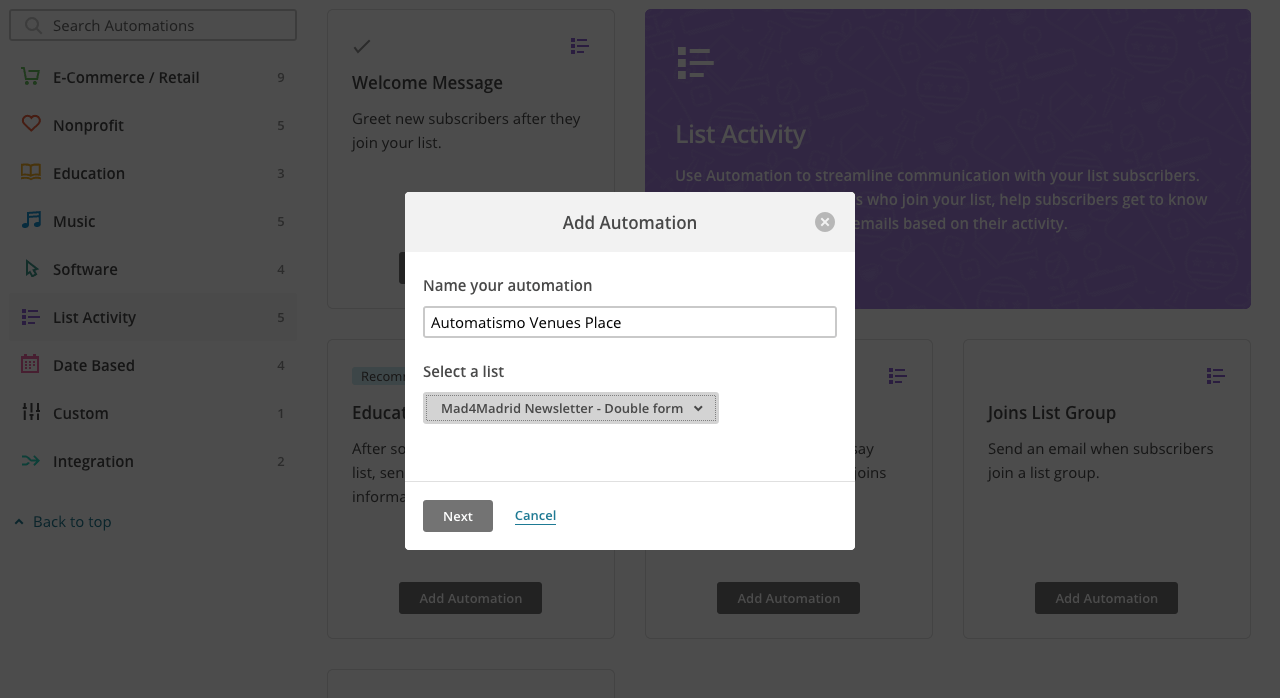
Next, you must give a name to the automation and choose the list to which it will be linked. As on previous occasions when creating campaigns, it is advisable to give it a name that will help us to easily recognize what the automation is about:
4.The following screen will be displayed in this default mode:
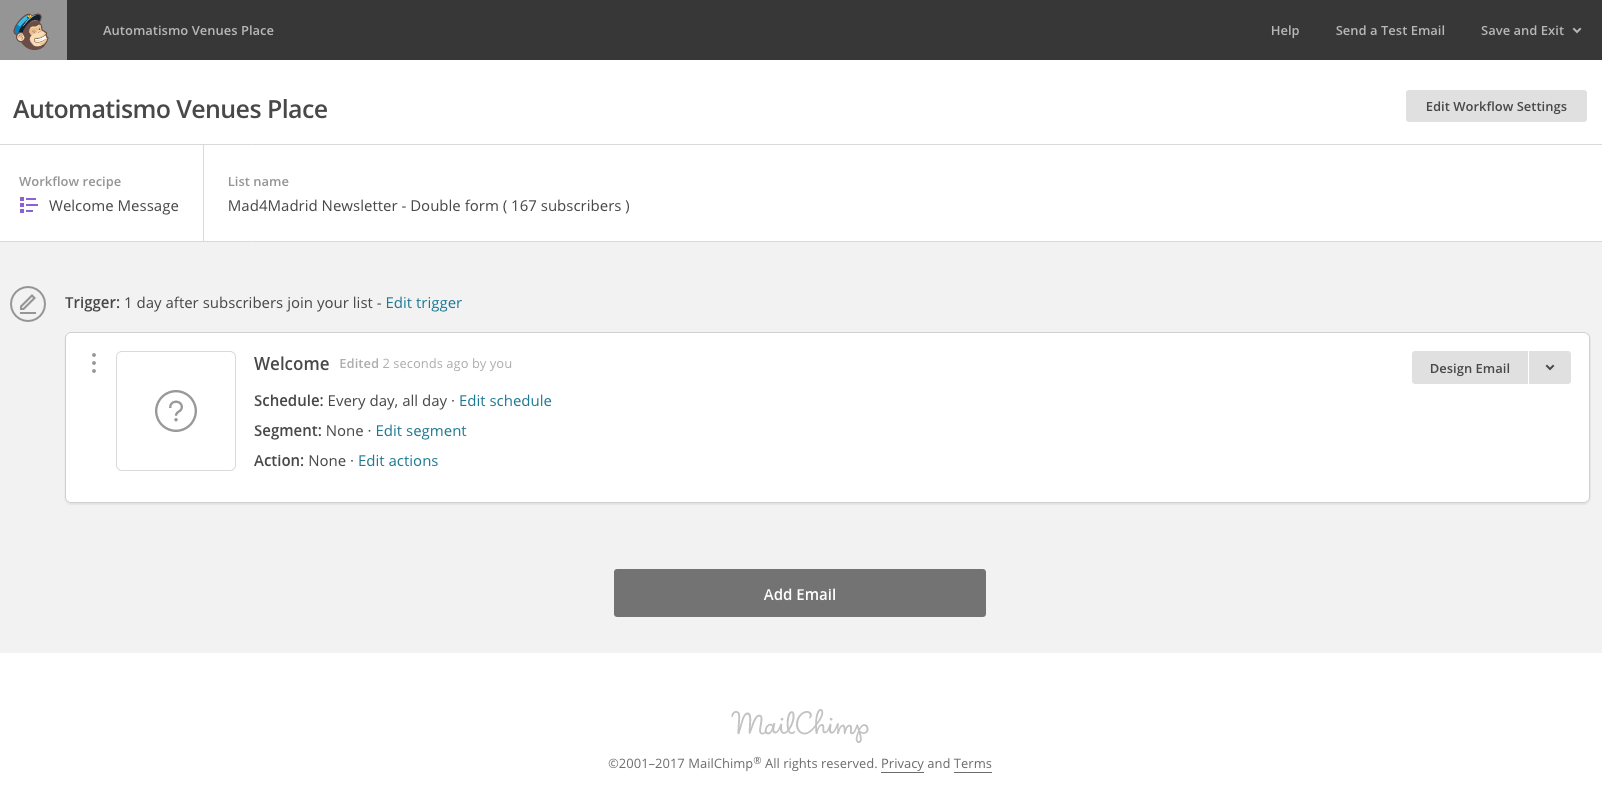
If you look closely, the campaign is in draft (there is a gray pencil icon) and the Trigger is 1 day after subscribers join your list, that is, it will be sent the day after subscribers join your list.
It has been shown that the opening rate is higher the less time elapses between subscription and the moment of receiving the first communication, generally approaching 60%, although it all depends on the hook. Therefore, we are going to edit this
The editing screen will default to launch after 1 day, so remember to change it:
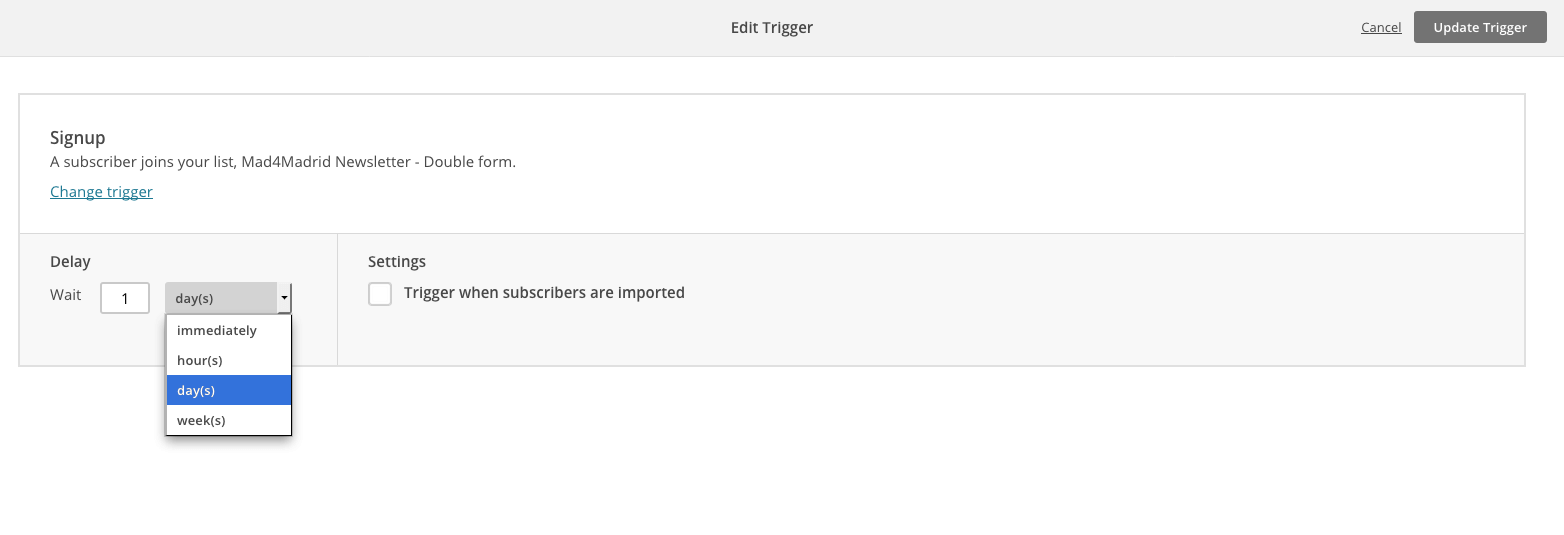
6.In the Delay drop-down list, we must select Inmediately and check the box next to it so that the manually imported contacts also receive the email. So that it looks as shown below:
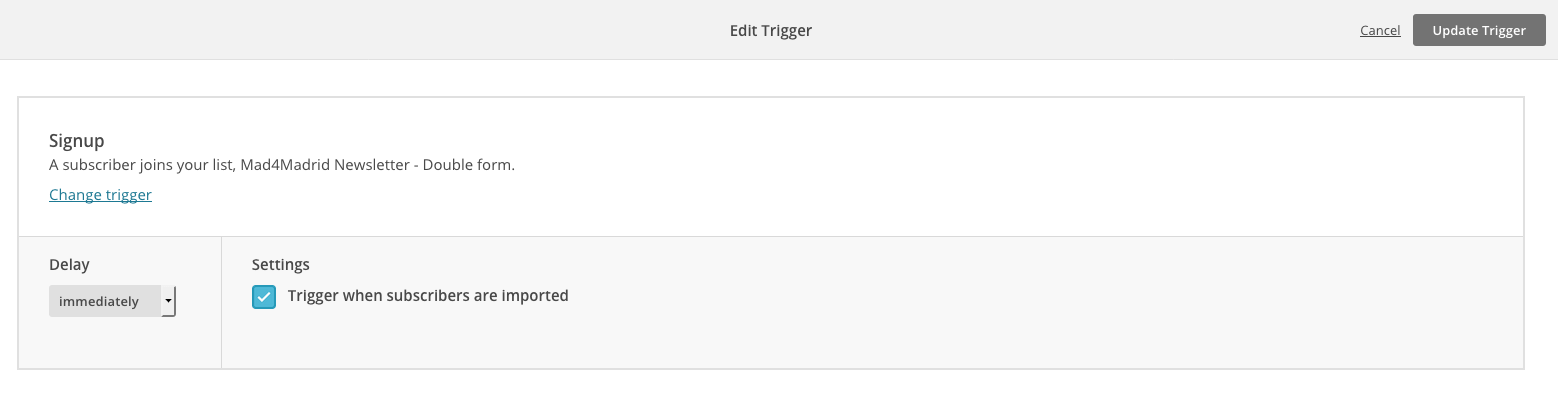
Click on Update trigger at the top right and you’re done!
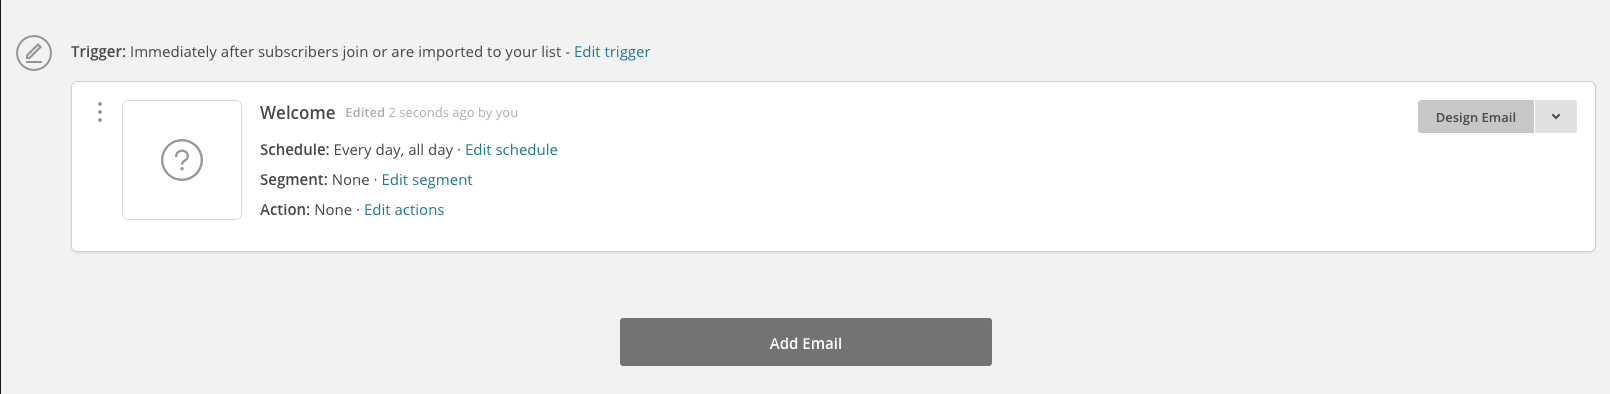
8.Then you have to edit the options of each email if you wish. Also by default they will be:
- Schedule: Every day, all day
- Segment: None (Segment: None)
- Action: None (Action: None)
As shown in the picture:
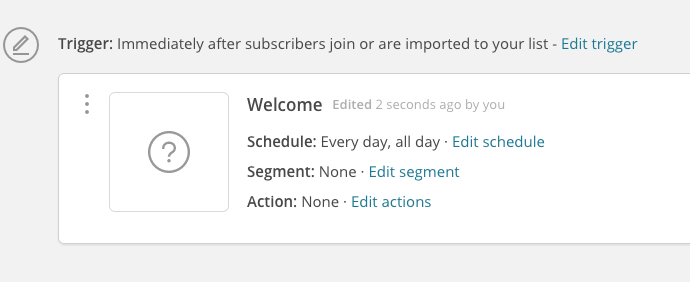
This is correct but we have the following options that can be edited from the links colored in blue: Edit Schedule, Edit segment and Edit actions.
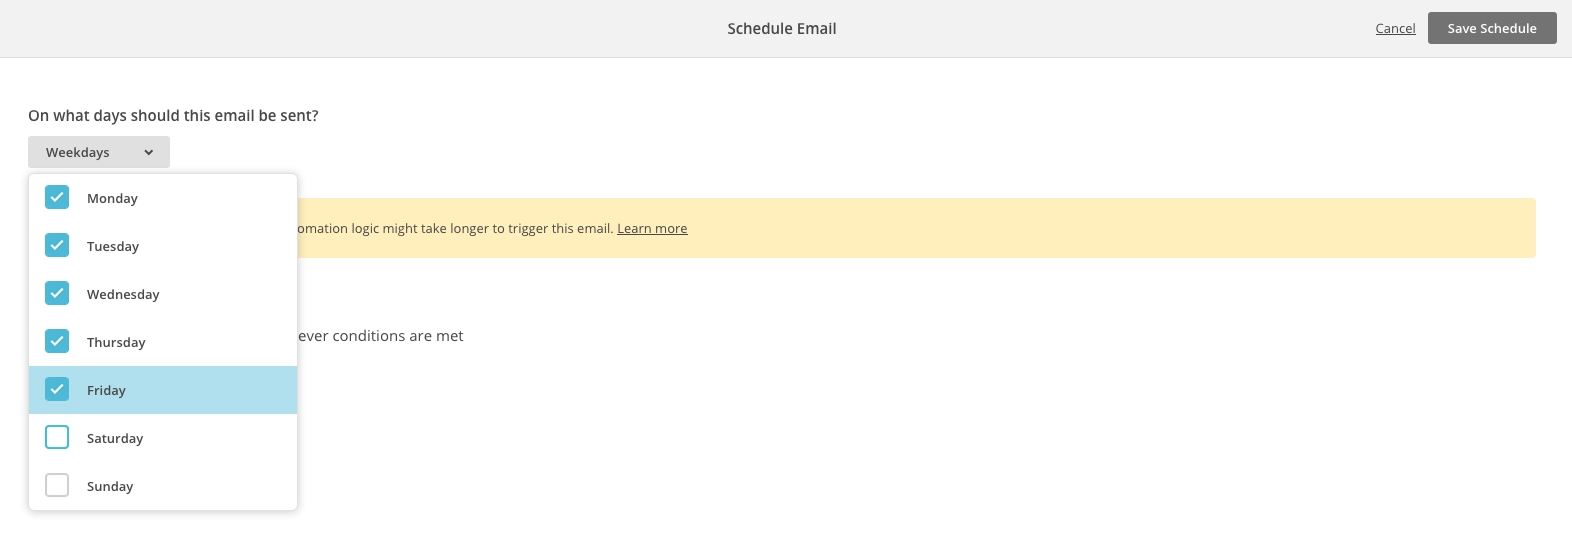
8.1. Within Edit Schedule, we will find the possibility to edit the days and times of shipment.
For the days we are offered the option of Inmediatly, which is the one currently selected, or by days, being able to choose to launch only on a specific day of the week or not to send it on weekends, etc.
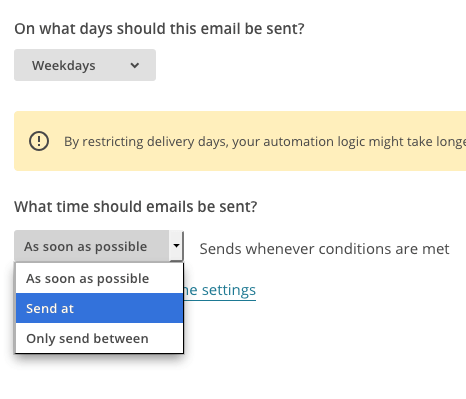
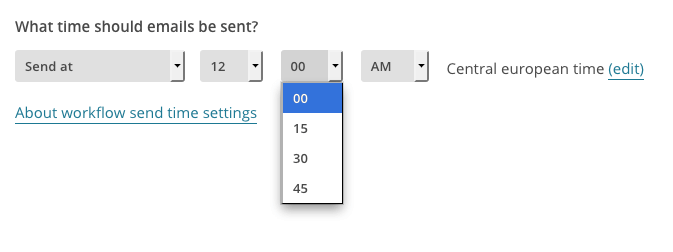
For the times, in addition to As soon as possible, we have Send at to mark a specific time, or Only send between, to choose the time when sending can be done: Send at is displayed like this:
And Only send between, like this:

Once we have decided how our automation will work, click on the black button at the top right and we will return to the automation screen.
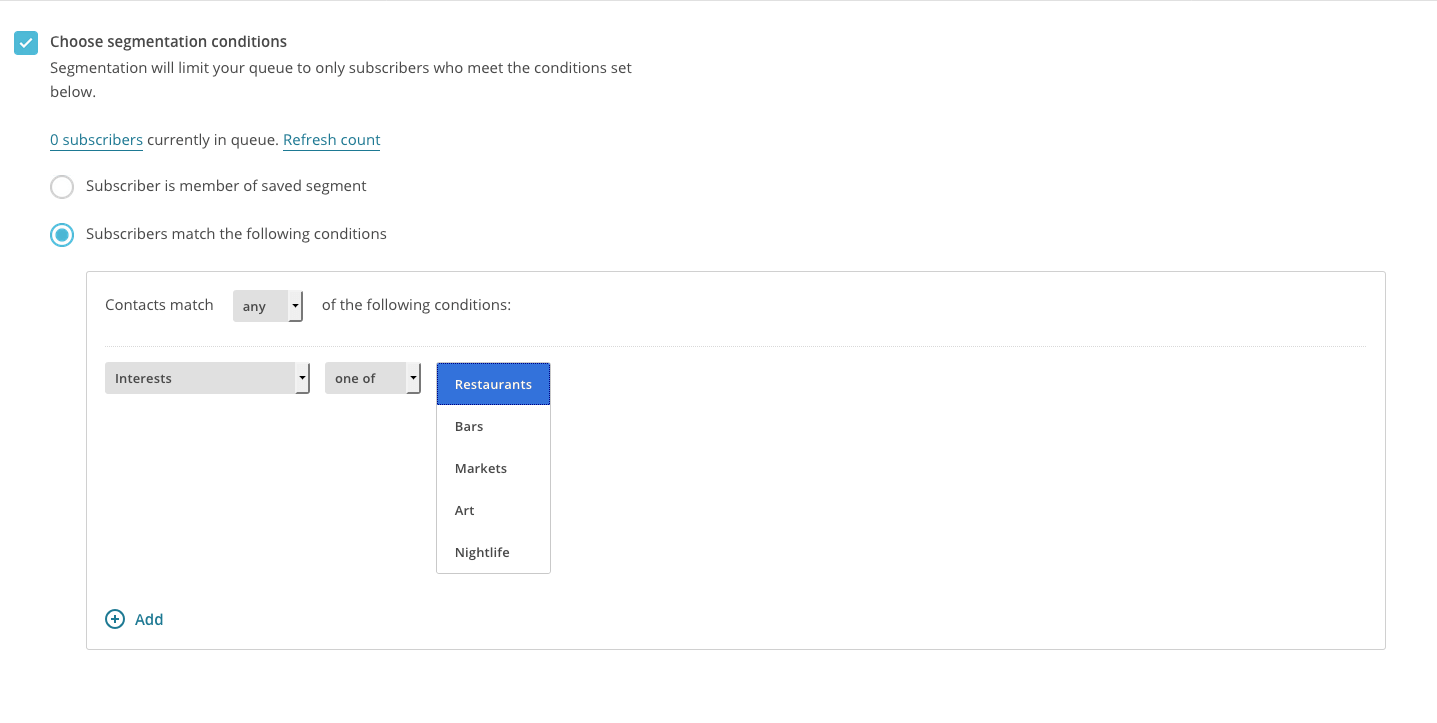
8.2. In the case of Edit Segment, we can choose a specific segment to which the email is sent or only if they meet the conditions we want.
For example:
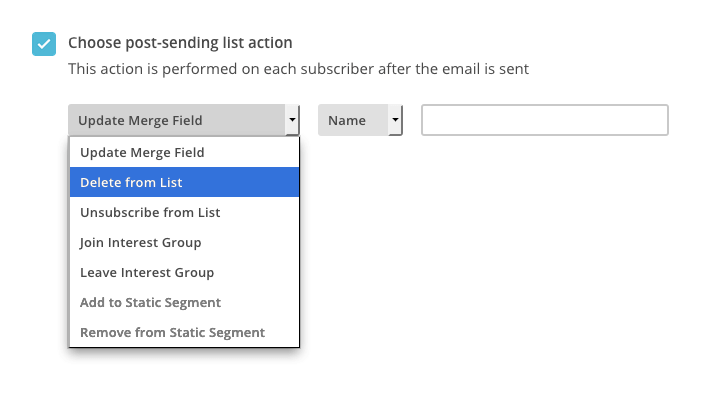
8.3. As for Edit Action, we allow Mailchimp to perform an action after sending the newsletter, such as modifying the subscriber’s data, deleting the subscriber from the list, etc.
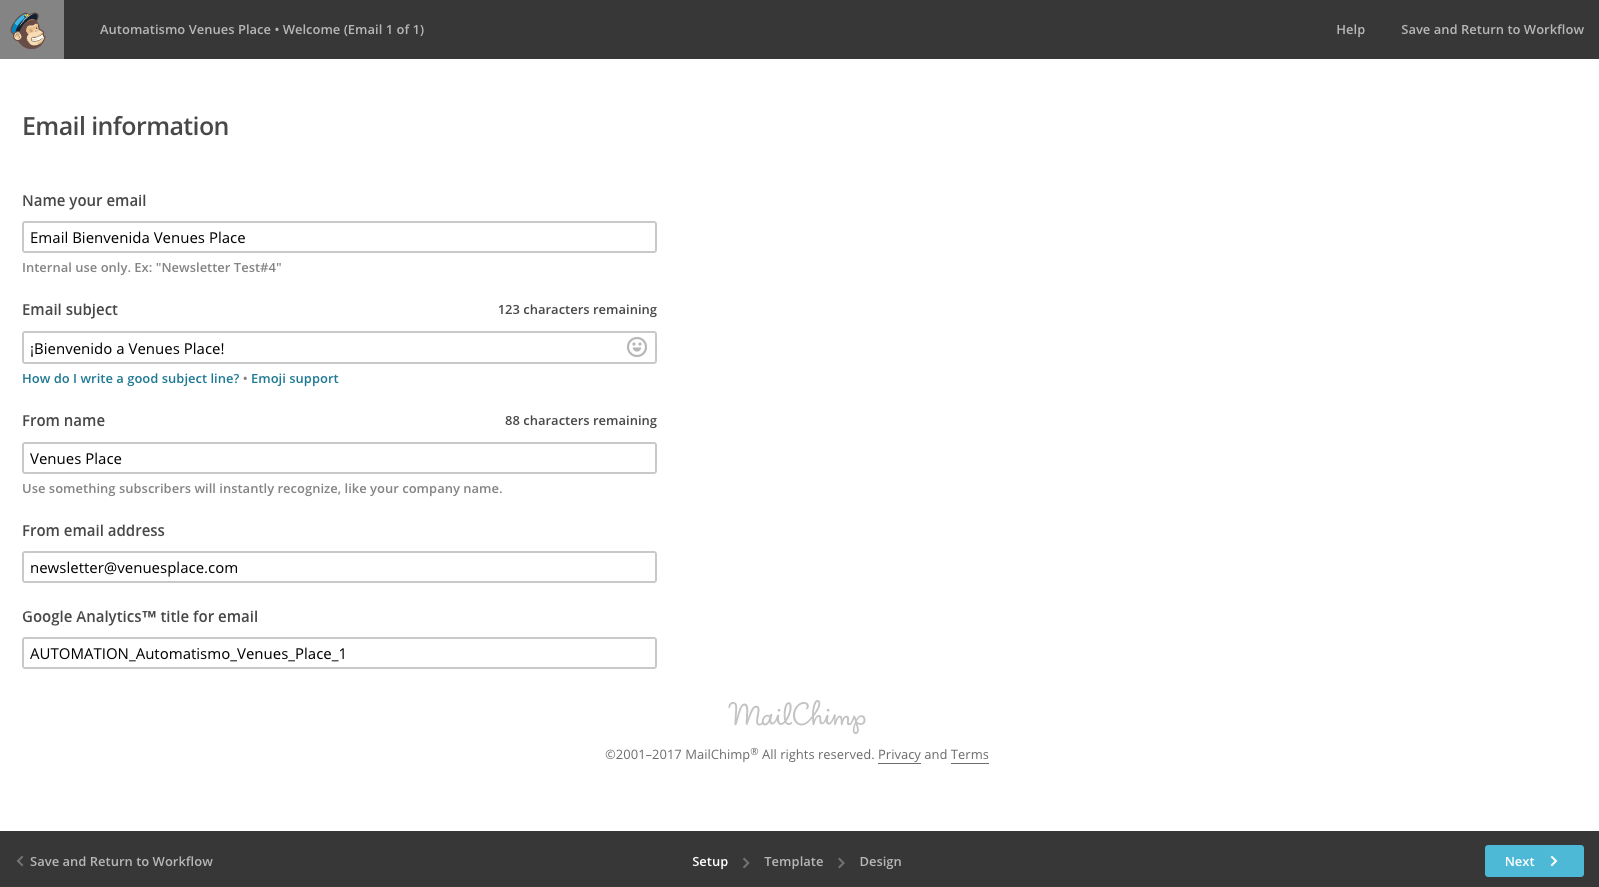
9. Once all these details have been chosen, it is time to design the email. To do this, click on Design Email, inside the email box:
9.1. We will find the usual campaign editor in which we must first complete the Setup data:
9.2. In Template you have to select a Mailchimp template, a previously created template or a campaign that has already been sent. We recommend to create it first outside the automation, save it as a template and choose it in this step. If you have any doubts, you can read our article How to create a campaign from scratch.
Once selected, in Design, we edit the design, add contents that we may have forgotten or correct errors. Once everything is correct, click on
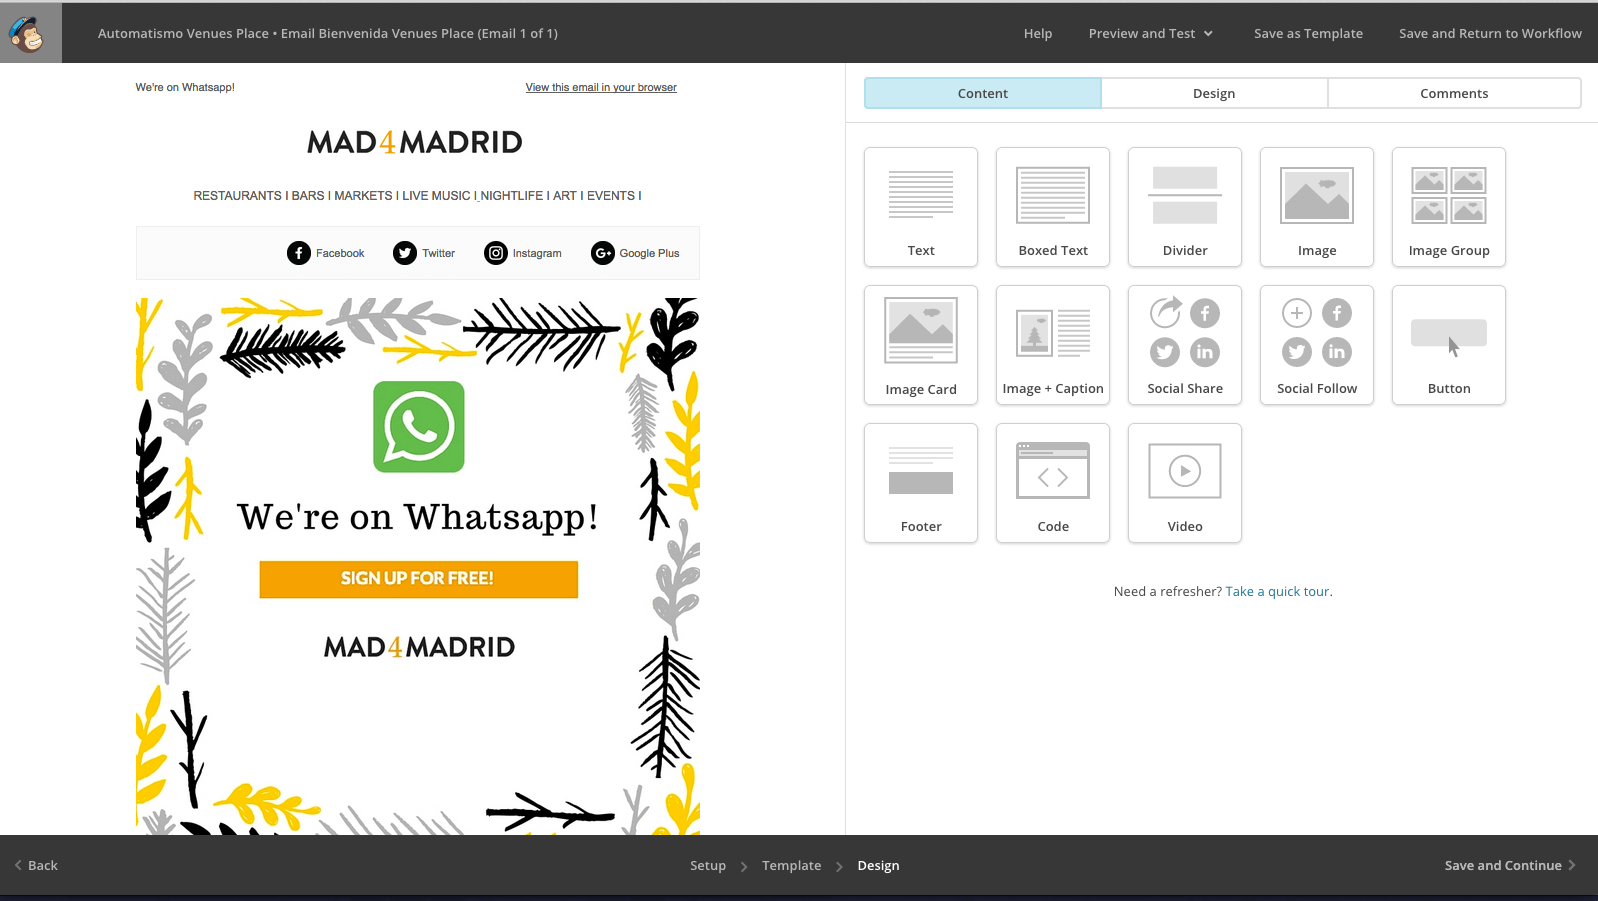
We already have the first email of our Workflow (or automation flow)!
10. How do we create a second automation to be launched after the first one? As simple as clicking on the button that appears under the email, Add email, and repeat the process:
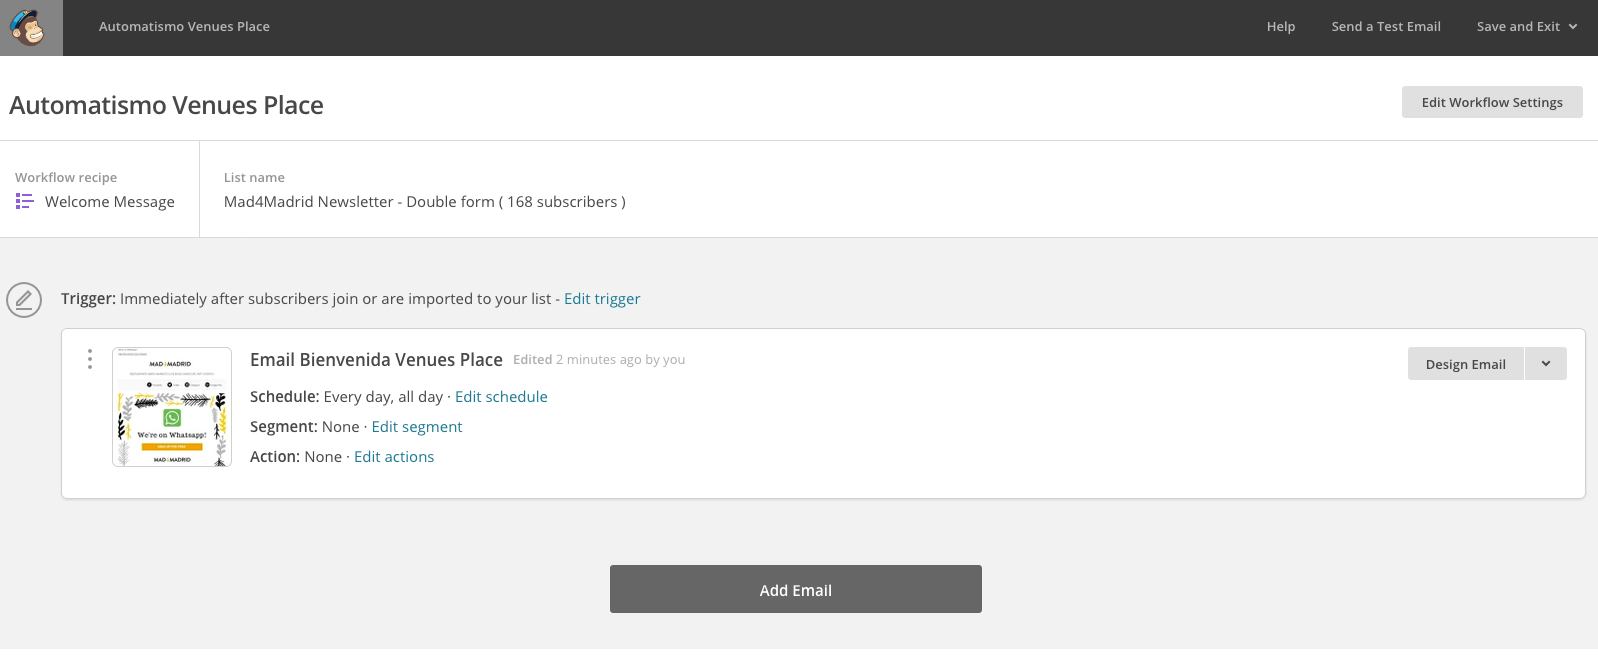
11. Under the first email will appear a second one in draft that we must modify following the same steps as with the previous one. We must pay special attention to the Trigger of this second email, which by default appears as 1 day after subscribers are sent previous email, (1 day after the previous email was sent):
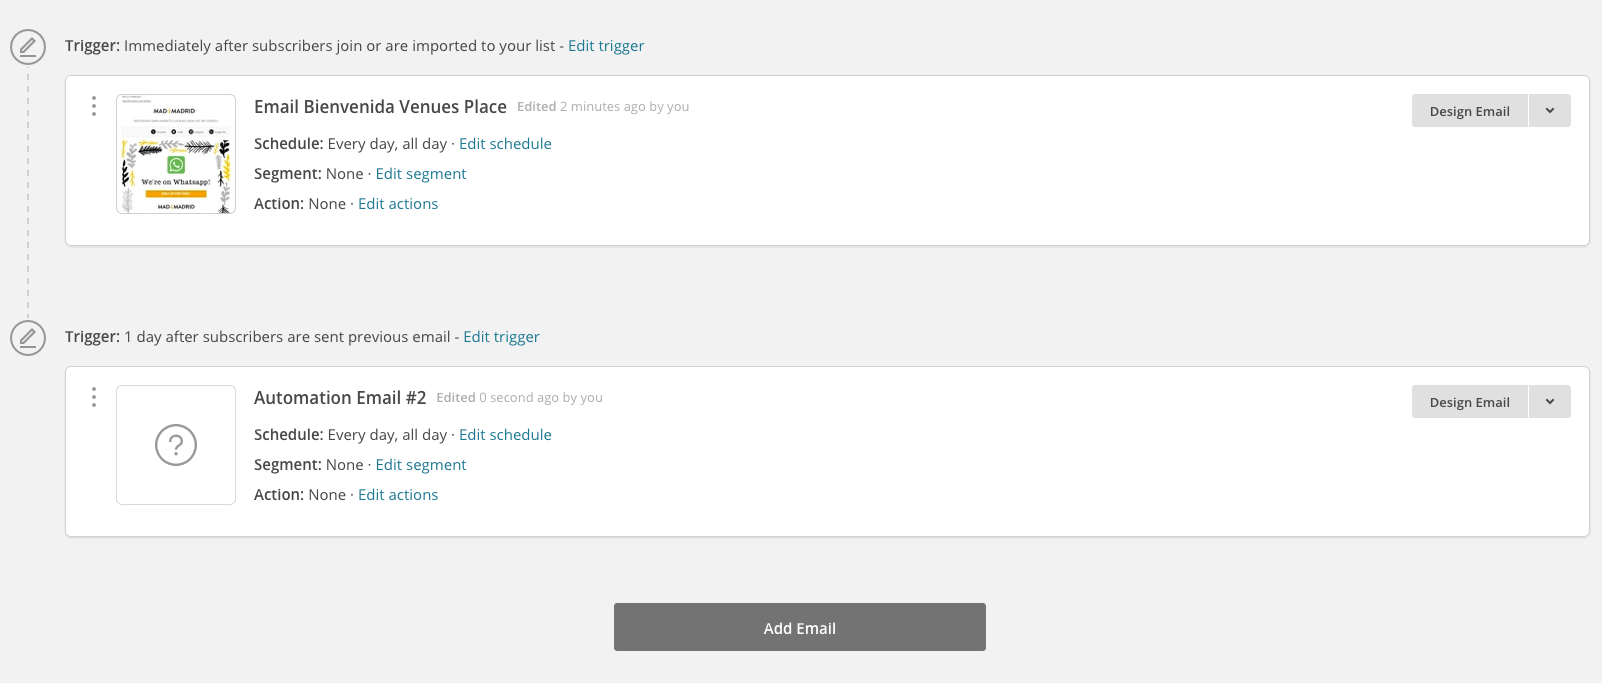
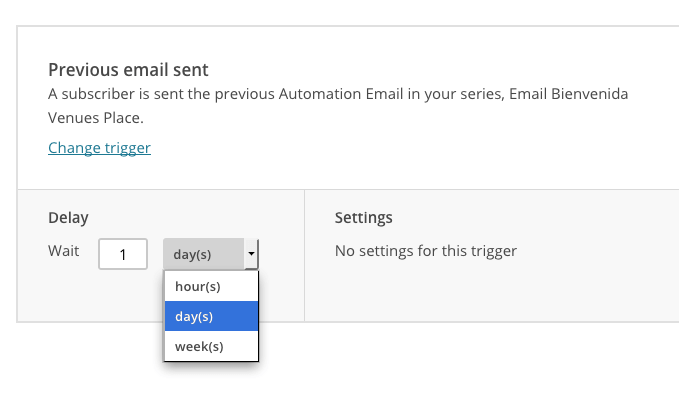
12. If we edit the Trigger, we can choose between hours, days and weeks:
13. Once all the changes and modifications have been made, you need to activate the automation. To do this, click
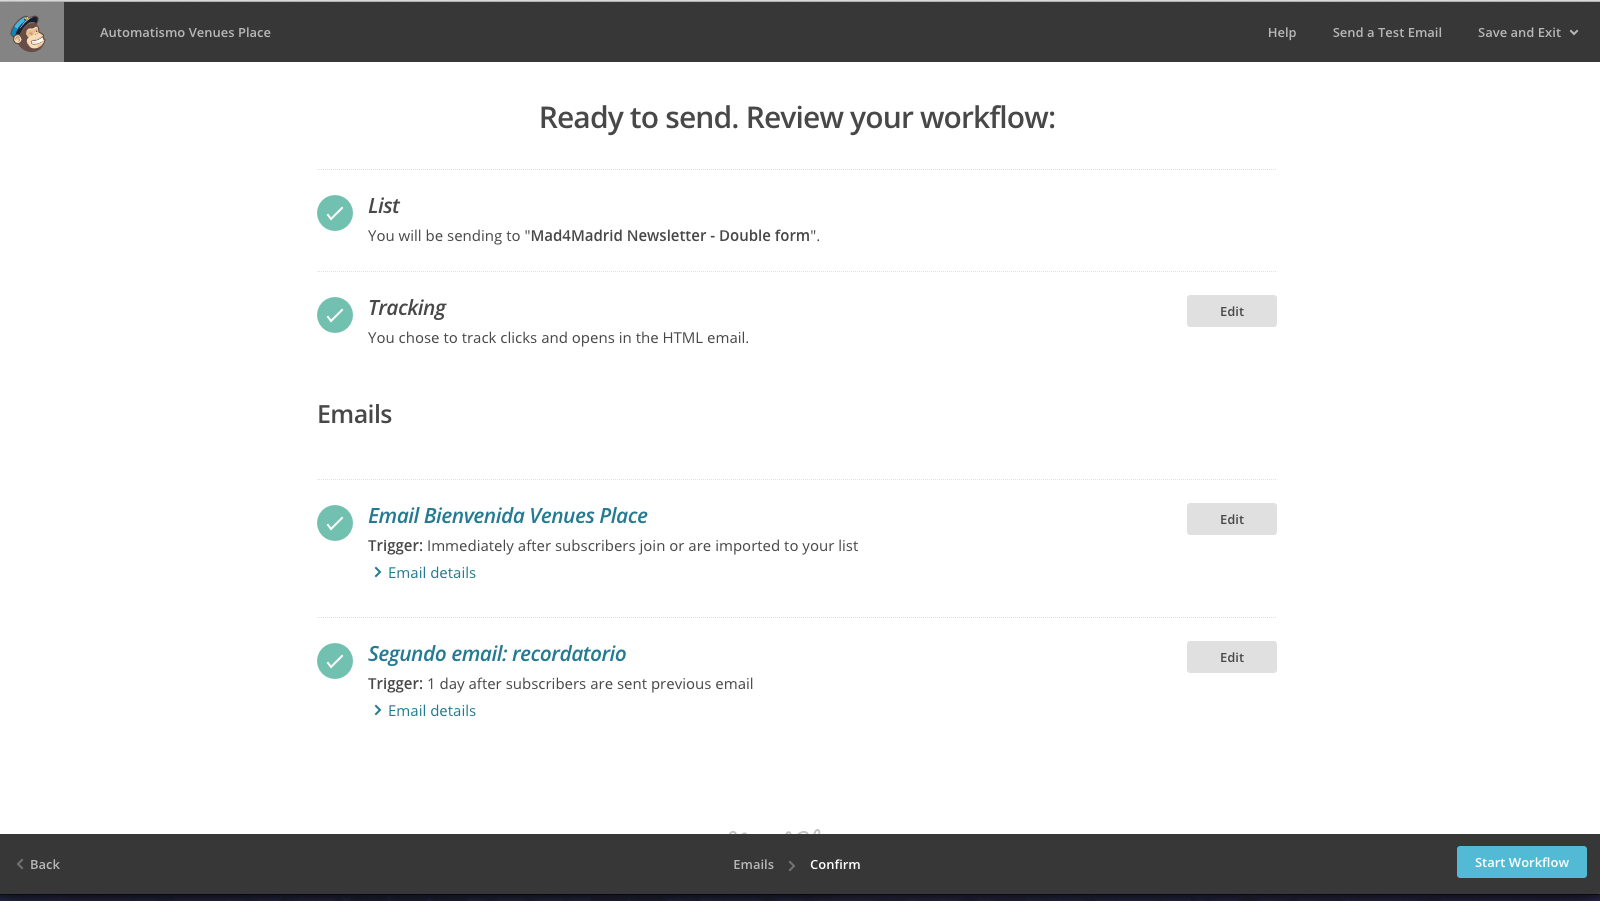
Ready!
Once the automation has been created and activated, it will look like this, with green check symbols:
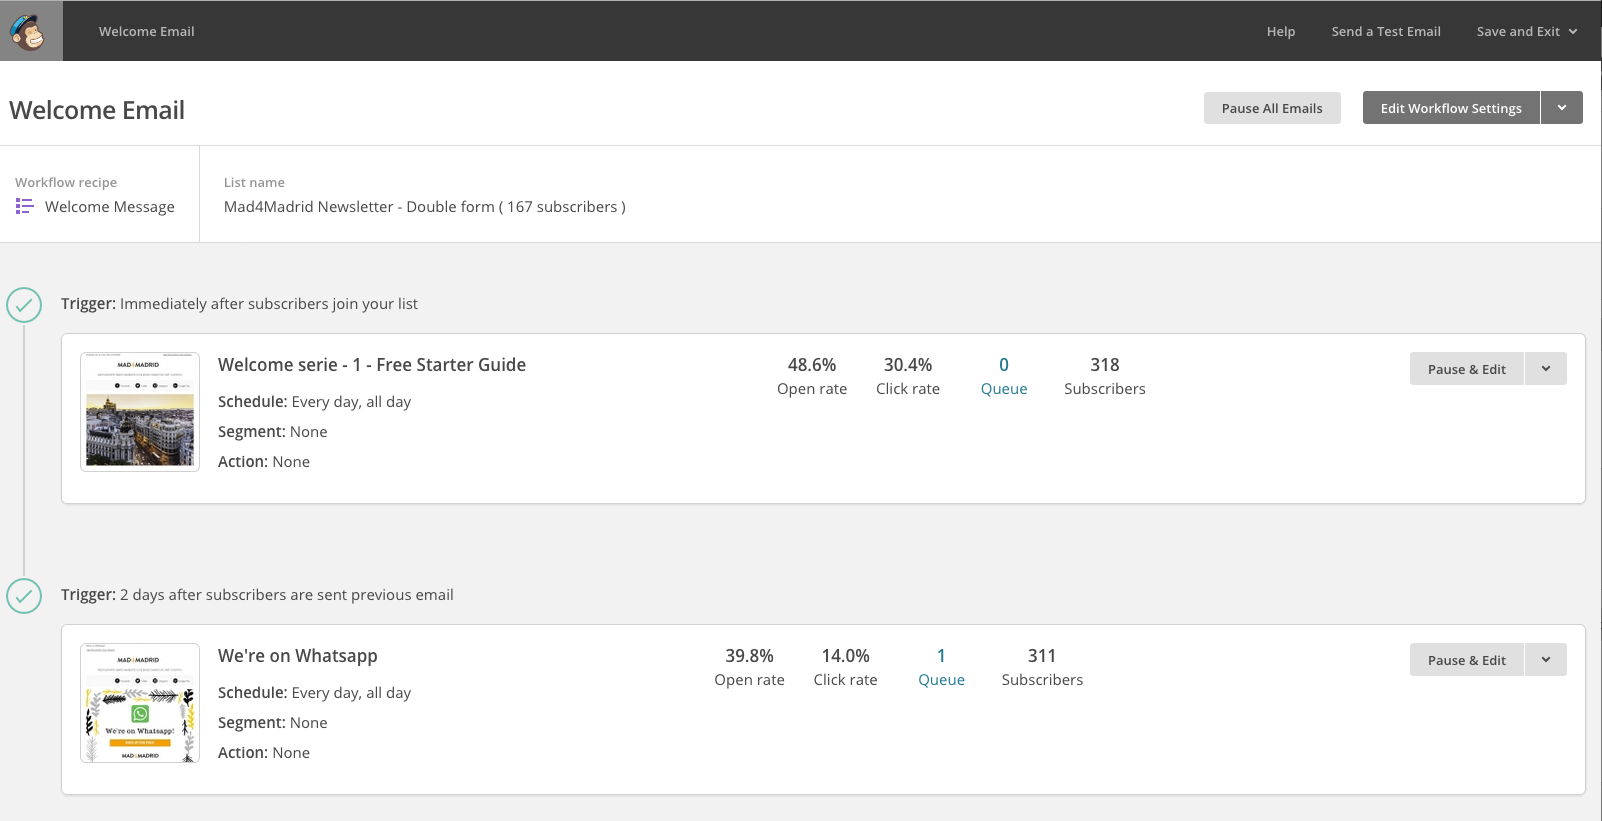
Your automation is running and you will see how the data starts to update. It will show you the percentage of opens, clicks, the number of subscribers who have received it and thequeue, i.e. the new subscribers who arequeued to receive the automation.
Advantages of automated systems
A welcome automation is a very powerful tool to take the first step towards the loyalty of your subscribers. Think of the moment when you subscribe to a newsletter and on your screen you read this message: “Thank you for subscribing! In a few minutes you will receive a confirmation of your subscription in your email”. What do you do next? Open your email and wait for the email to arrive. Even if you don’t receive it for a long time, you open the Spam folder to “rescue” it and mark it as safe.
With this example what we mean is that the moment someone subscribes to a list, is when their interest in your store/product/information/etc. is at its highest and therefore the perfect opportunity to make sure they open your first email and click on its contents. That simple gesture is already telling the email manager that it is not spam, that it is safe. And in turn, this is very positive data that Mailchimp will take into account.
Need more data to convince you? Here is a report prepared by Mailchimp with the open and click-through rates achieved by various sectors in their newsletters. This way you will know the figures you can aspire to by including automations in your strategy:
Still not sure or don’t know where to start? Contact us! We can create the email marketing strategy that best suits you and take care of it.
And remember that you can leave us your doubts or tell us how you use the automatisms in the comments.
